PAGE
Web Portal Tutorial
Introduction
This tutorial explains how to create a project on the Inria Continuous Integration Web portal, and its relation with Jenkins and CloudStack.
Jenkins and CloudStack
Firstly, Continuous integration require to manage all the testing process. For example, one could want the testing process to be triggered by every commit on a SVN server, and consist in updating the sources, recompiling what has changed, running a test suite, generating and serving HTML report, and sending email if some tests failed. All these kind of things are managed using a Continuous integration software. The Continuous integration software used by Inria is Jenkins. Jenkins (like other Continuous integration softwares) is organized in a master/slaves model. The master is the daemon running on the master-machine, and is responsible to trigger the testing process by polling a source code repository or using cron-like rules or whatever, aggregate the tests results, generate HTML report etc. Slaves are the client-part running on slave-machines, where the tests are effectively run. Typically, all the configuration (what commands have to be executed on the slaves to update the sources, compile, run the tests, ...) is done on the master, and several slaves are created for different operating systems and architectures.
Secondly, Continuous integration requires to create and manage the slave machines, where all the testing process are executed. A crucial point in Continuous integration is to test on operating systems or architectures different from the one the developer works on. Additionally, one could want to execute tests on a fresh installation, or to have pre-installed softwares. The cloud infrastructure used by Inria is CloudStack.
The Web portal
In this tutorial, you will learn how to use the Web portal to create a project on the Inria Continuous integration platform, and to use it to manage your project, reach your Jenkins and CloudStack instances. A project will consist in one Jenkins master instance, and multiple slave instances (20 at a maximum). All slaves are virtual machines, that are private to each project, in the sense that a slave can not be used in two different projects. A project can regroup different developers, and a developer can create or participate in different projects. The Web portal provides you an interface to manage multiple projects.
Getting started
Create a user account
Visit the front page of the Web portal, sign up (a valid email address will be asked), and log in. Note that if you work at INRIA (or any partner lab: IRISA, LORIA...) you must enter your official e-mail address otherwise you will not be allowed to create any project (if unsure make a query at this page).
To log in, use the email address as user name.
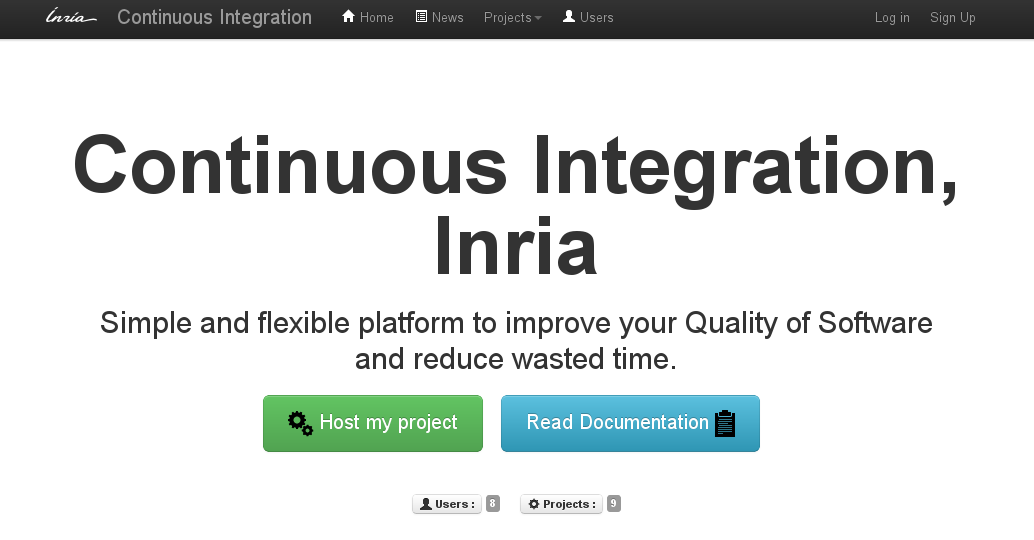
The navigation bar

It is worth to note that, at the top of the each page, the navigation bar gives quick links to:
- Sign up, Log in, Log out.
- Dashboard.
- Projects creation and list.
- News.
- Users list.
- User account configuration (names, email, password, SSH keys...).
Note that if your browser window is not wide enough, the navigation
buttons will not be shown. But an additional button
 will be included in the top right. This button opens a drop-down menu
showing the navigation buttons.

Users list
The list of users of the CI portal can be opened by clicking Users in the navigation bar. From here you can delete your user account.
Manage your account
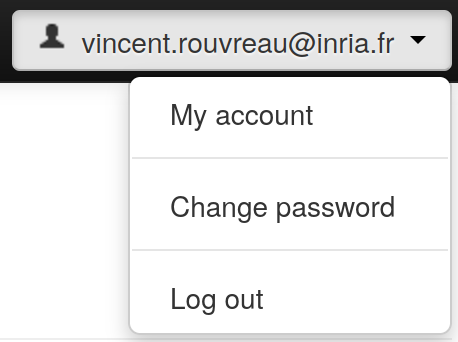
From the navigation bar, select My account. Copy, paste and add now your SSH public key, so that it can be used later to connect to the slaves machine you will create.
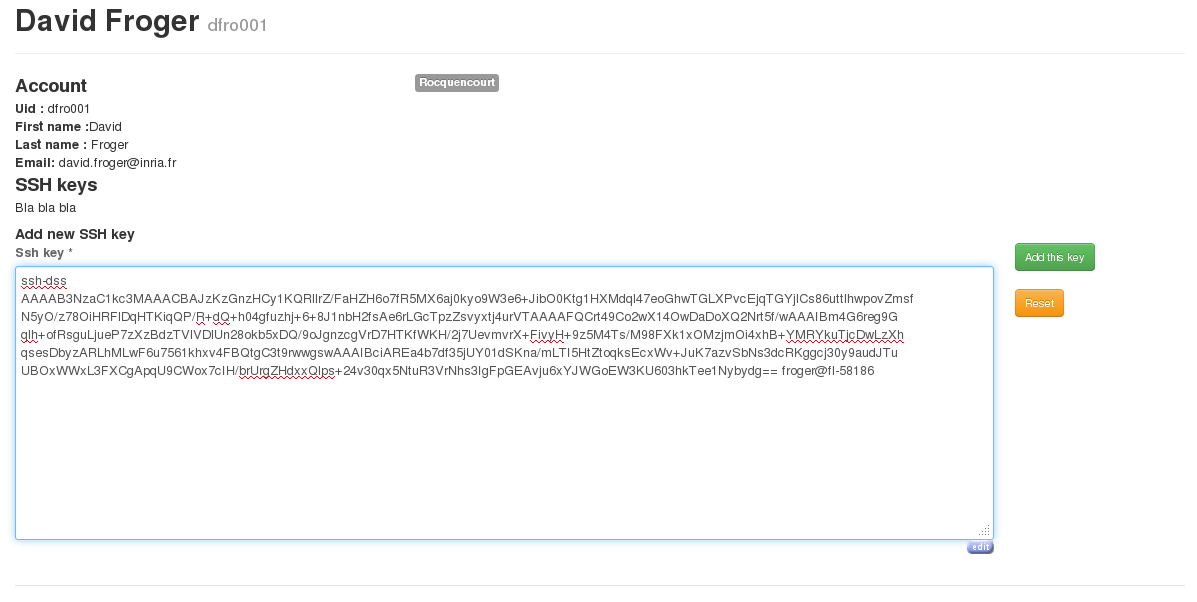
If you do not have an SSH key yet, you can leave it blank for the moment. The procedure to create an SSH key pair will be described in the Slaves Access Tutorial.
Create a new project
Go to the Dashboard page. From here, you can create a new project, join an existing project, and manage the project you own or participate in.
Click the green button Host my project.
Note: only INRIA users are allowed to create a project. If the button is shown in grey (disabled), then it means that you are not identified as an INRIA user.

and fill the project creation form:
- Shortname. It will be the identifiant (the Unix-name) of your project, use lower case only.
- Fullname.
- Description.
- Visibility.
- Software1. If you need a Jenkins instance for your Continuous Integration, select “jenkins”. Otherwise, select “None”.
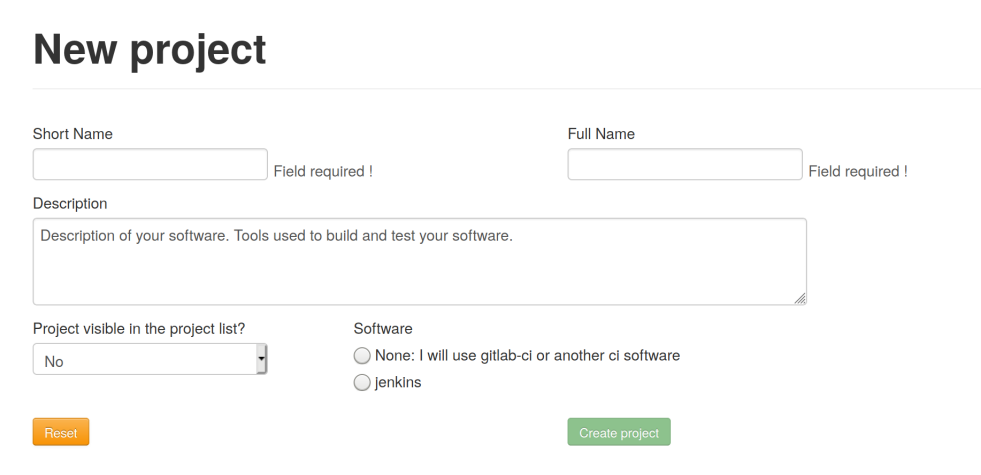
Once the form submitted, you are ready to create the slaves using CloudStack. If “jenkins” has been selected1, a Jenkins master instance will be created for this project. In this case, you will also be able to configure Jenkins.
Note: the creation of the project may take some time. You will automatically receive an e-mail when the project is fully created.
Join an existing project
This section only applicable to public projects. If you want to join a private project, then you must contact an administrator of that project.
To join an existing project, either click the
 button from the dashboard, or select list projects from the navigation
bar. This will open the a of all public projects:
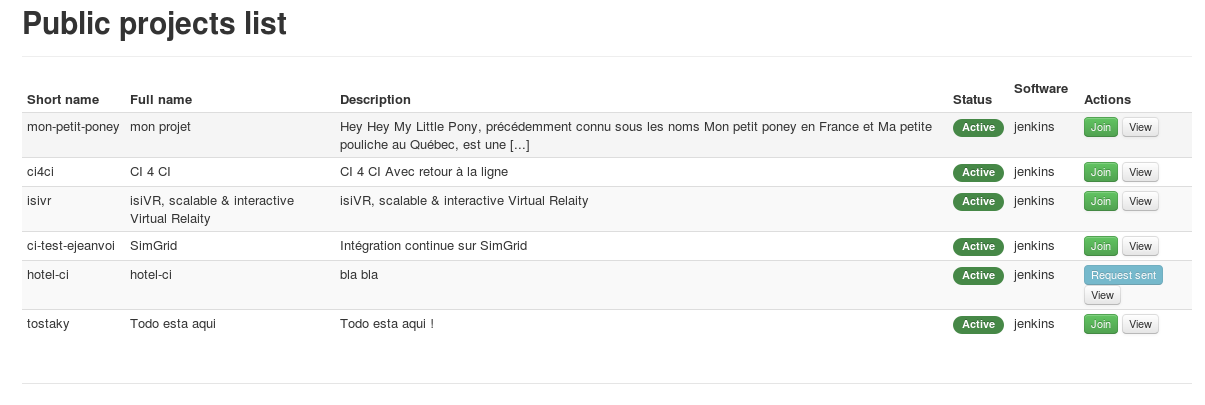
From here, you can request to join a project by clicking the
 button.
Manage the project
On the Dashboard, your new project should appear, with two buttons.
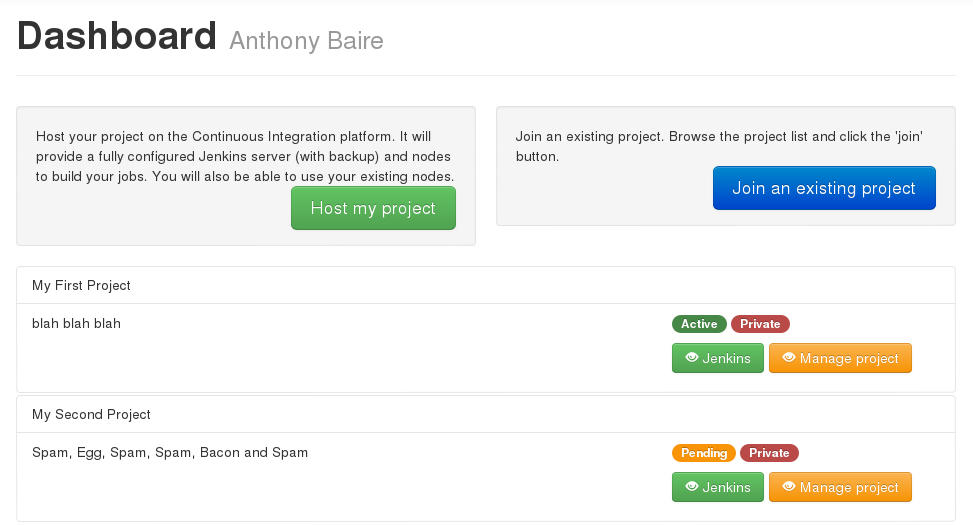
- The
 button links to the Jenkins master instance web interface, the
place where all the Jenkins configuration is performed. More
precisely, the link points to the production version. Production
and qualification concept are explained below.
 - The
 button links to the Project configuration, a part of the Web
portal.
Note: if your project is listed as
 ,
then it means that the creation of your project is not completed. You
will not be able to configure the project until it is listed as
 .
.
Depending on the load on the server, the creation of your project may take a moment. In the meantime you can jump to the following stages:
Linux/MacOS Users
- ensure that the ssh and rdesktop commands are installed on your system
- create your SSH key (if you do not have an SSH key yet)
- Configure a proxy command for SSH
- you can start reading the ../jenkins tutorial
Windows Users
- ensure that Putty is installed. Especially you will need to use Putty.exe, Puttygen.exe, Plink.exe and (for your comfort) Pageant.exe
- create your SSH key (if you do not have an SSH key yet)
- you can start reading the ../jenkins tutorial
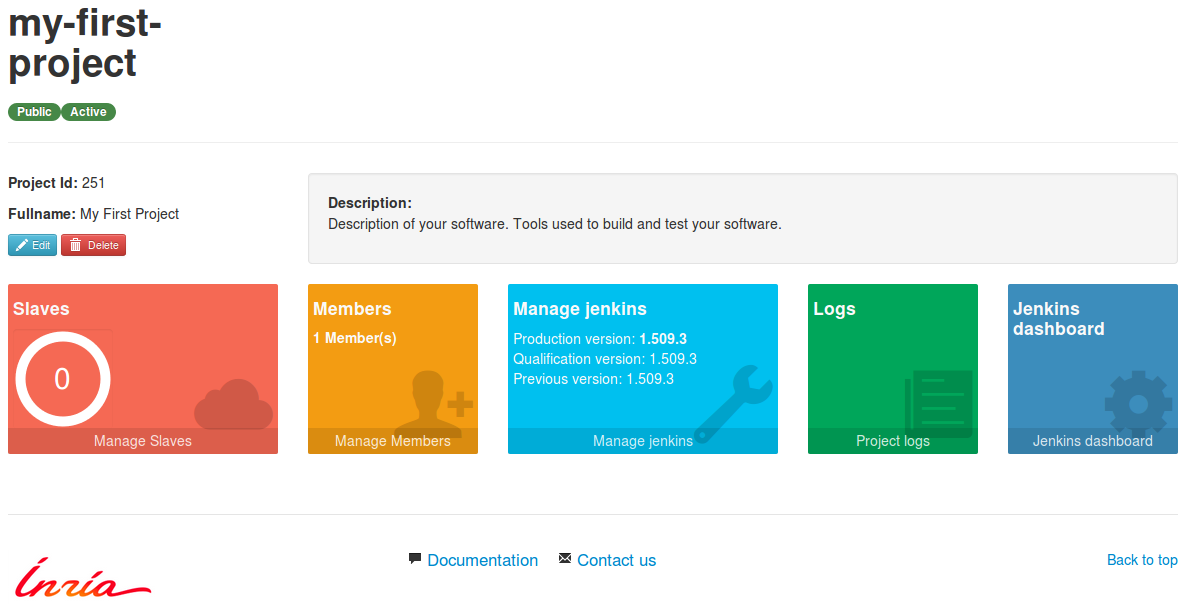
Once your projet is active, come back and continue this tutorial by
clicking the
 button to open the configuration of your project. From this page, one
can get:
- the number of slaves
- the number of members
- the Jenkins version
- the log events
- the direct access to Jenkins dashboard.
One can also edit the project or delete it if needed.
Slaves
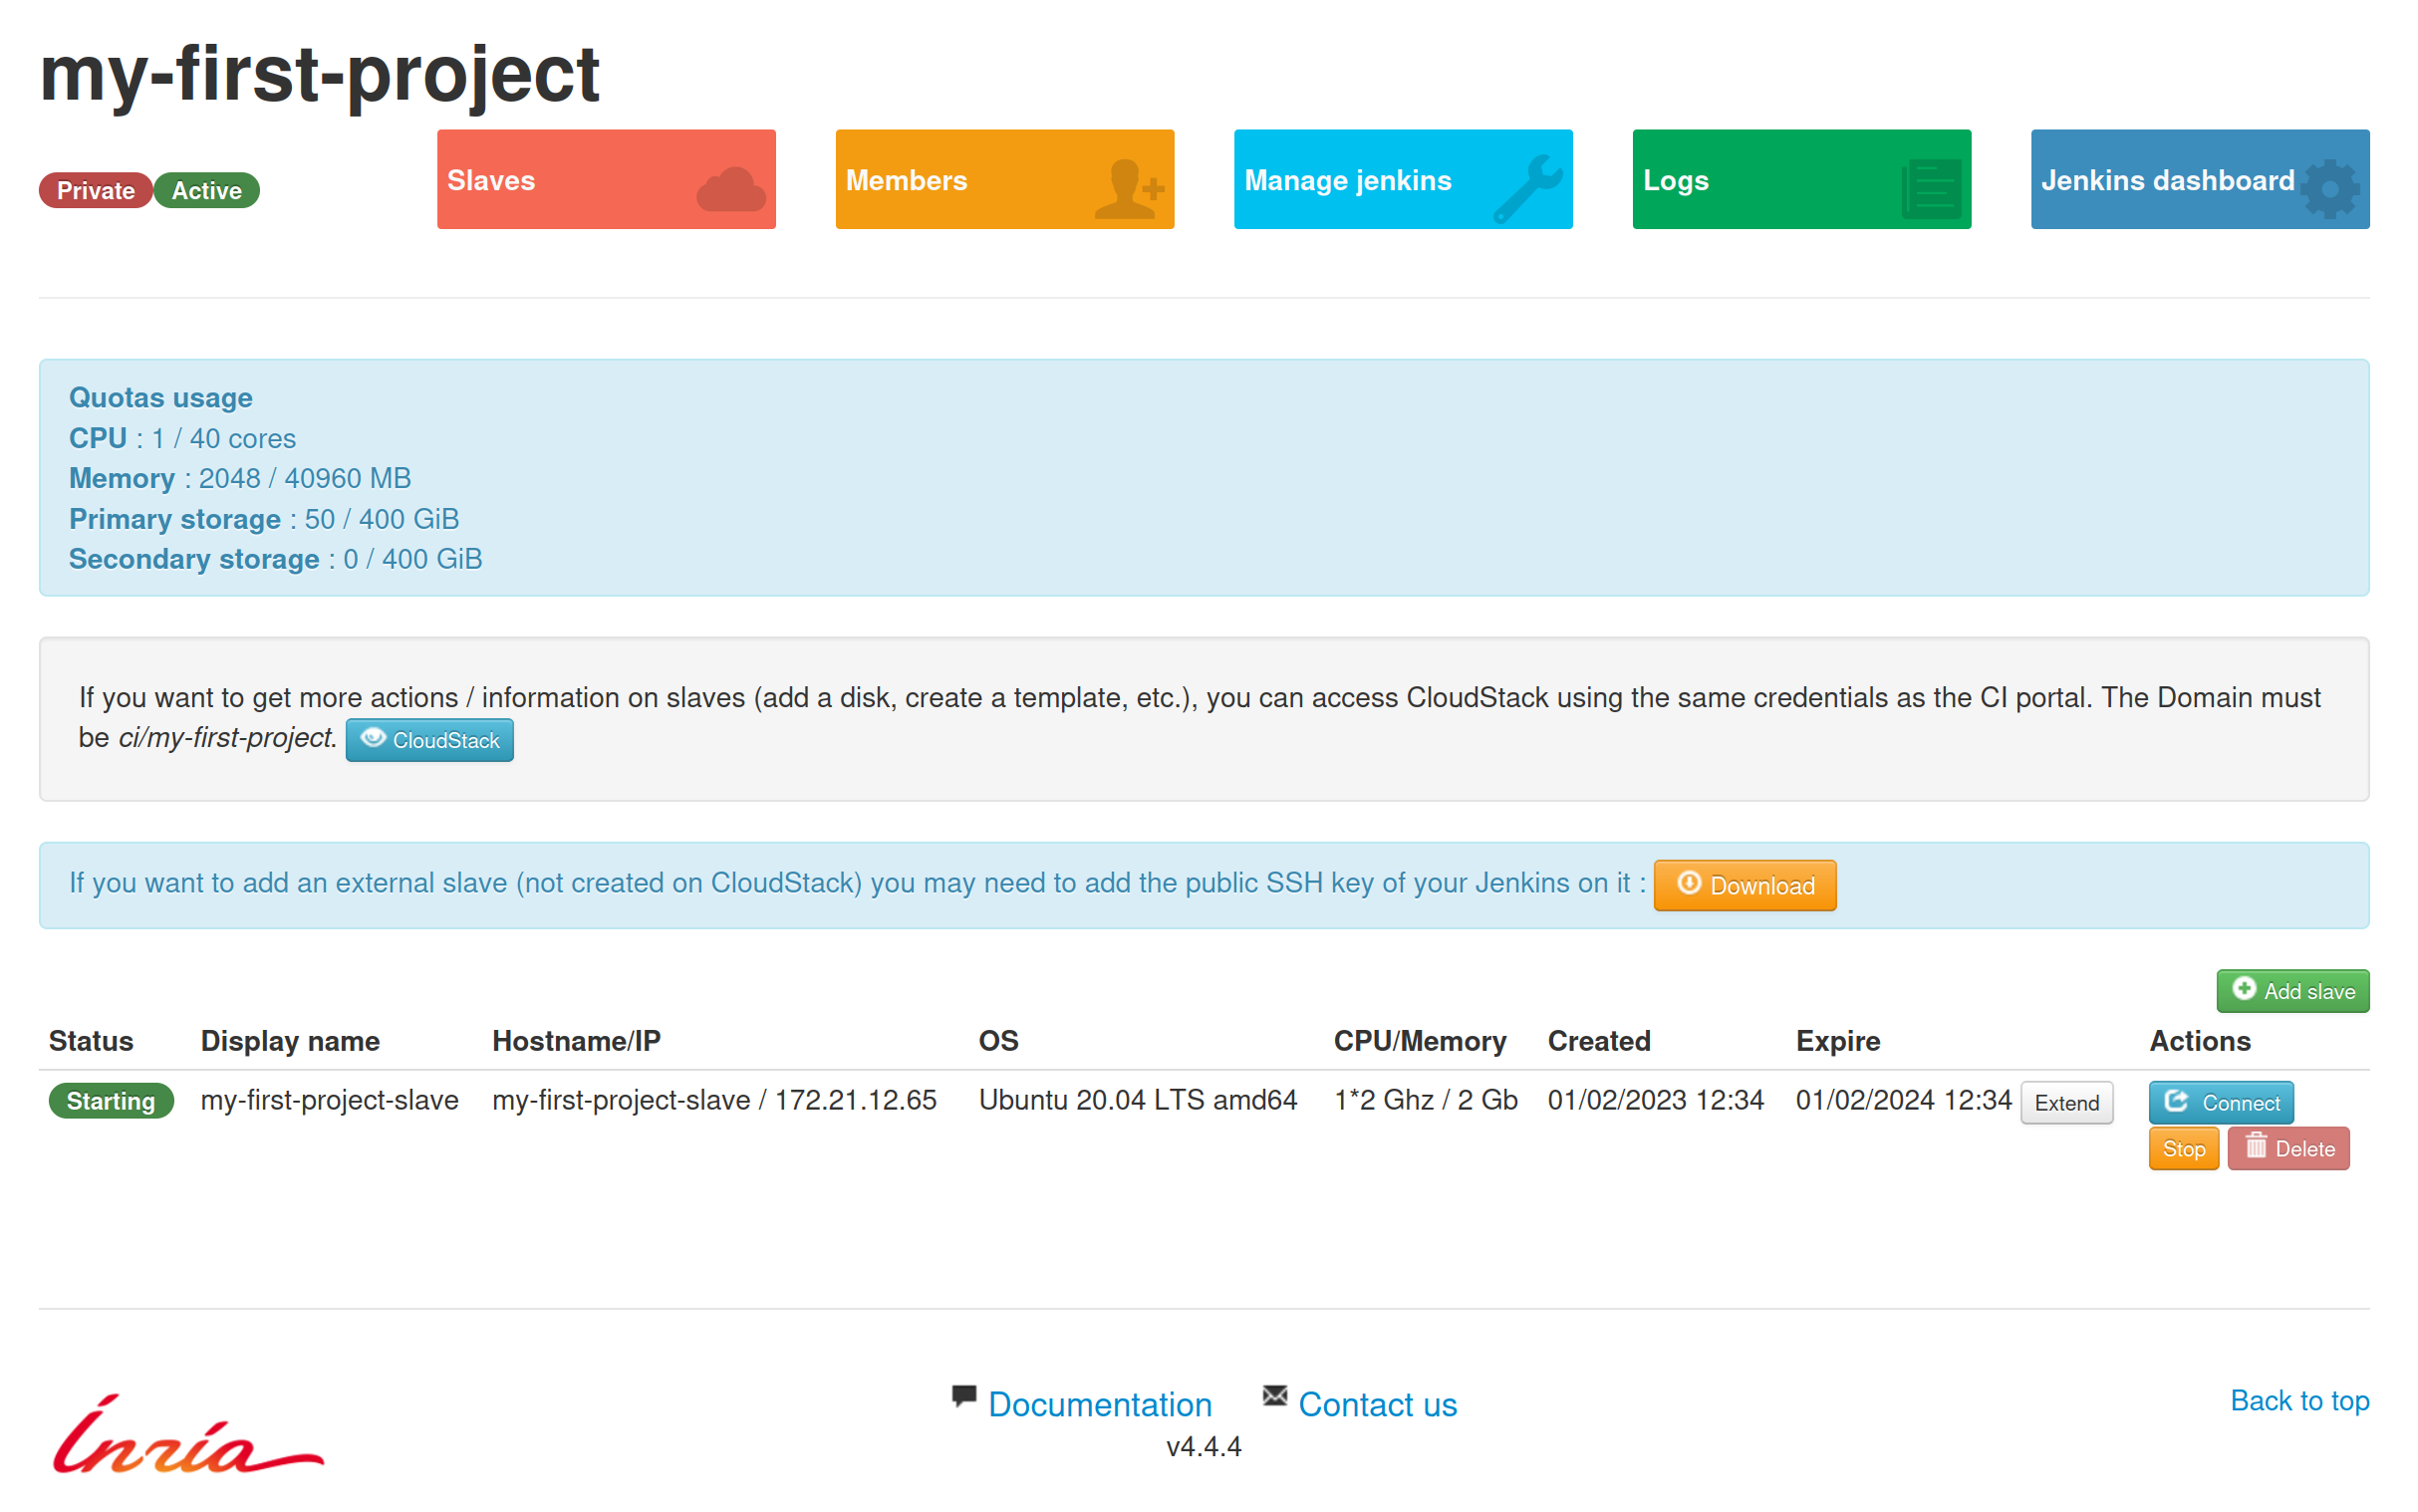
The Slaves section will display the slaves you created on CloudStack, their status (if they are starting, running, stopping, stopped or destroyed), and the informations required to connect the slave using SSH. You also have the possibility to add new slave from here, stop and start existing slaves, and delete slaves that are no longer in use, without connecting the CloudStack platform. For each slave, there is an expiration date: after this date, the slave will be automatically destroyed, unless the expiration date has been extended beforehand with the Extend button. Emails will be send to the project administrators during the weeks before the expiration date to remind them to extend their virtual machines if they still use them.
Here is an example of a slave add:
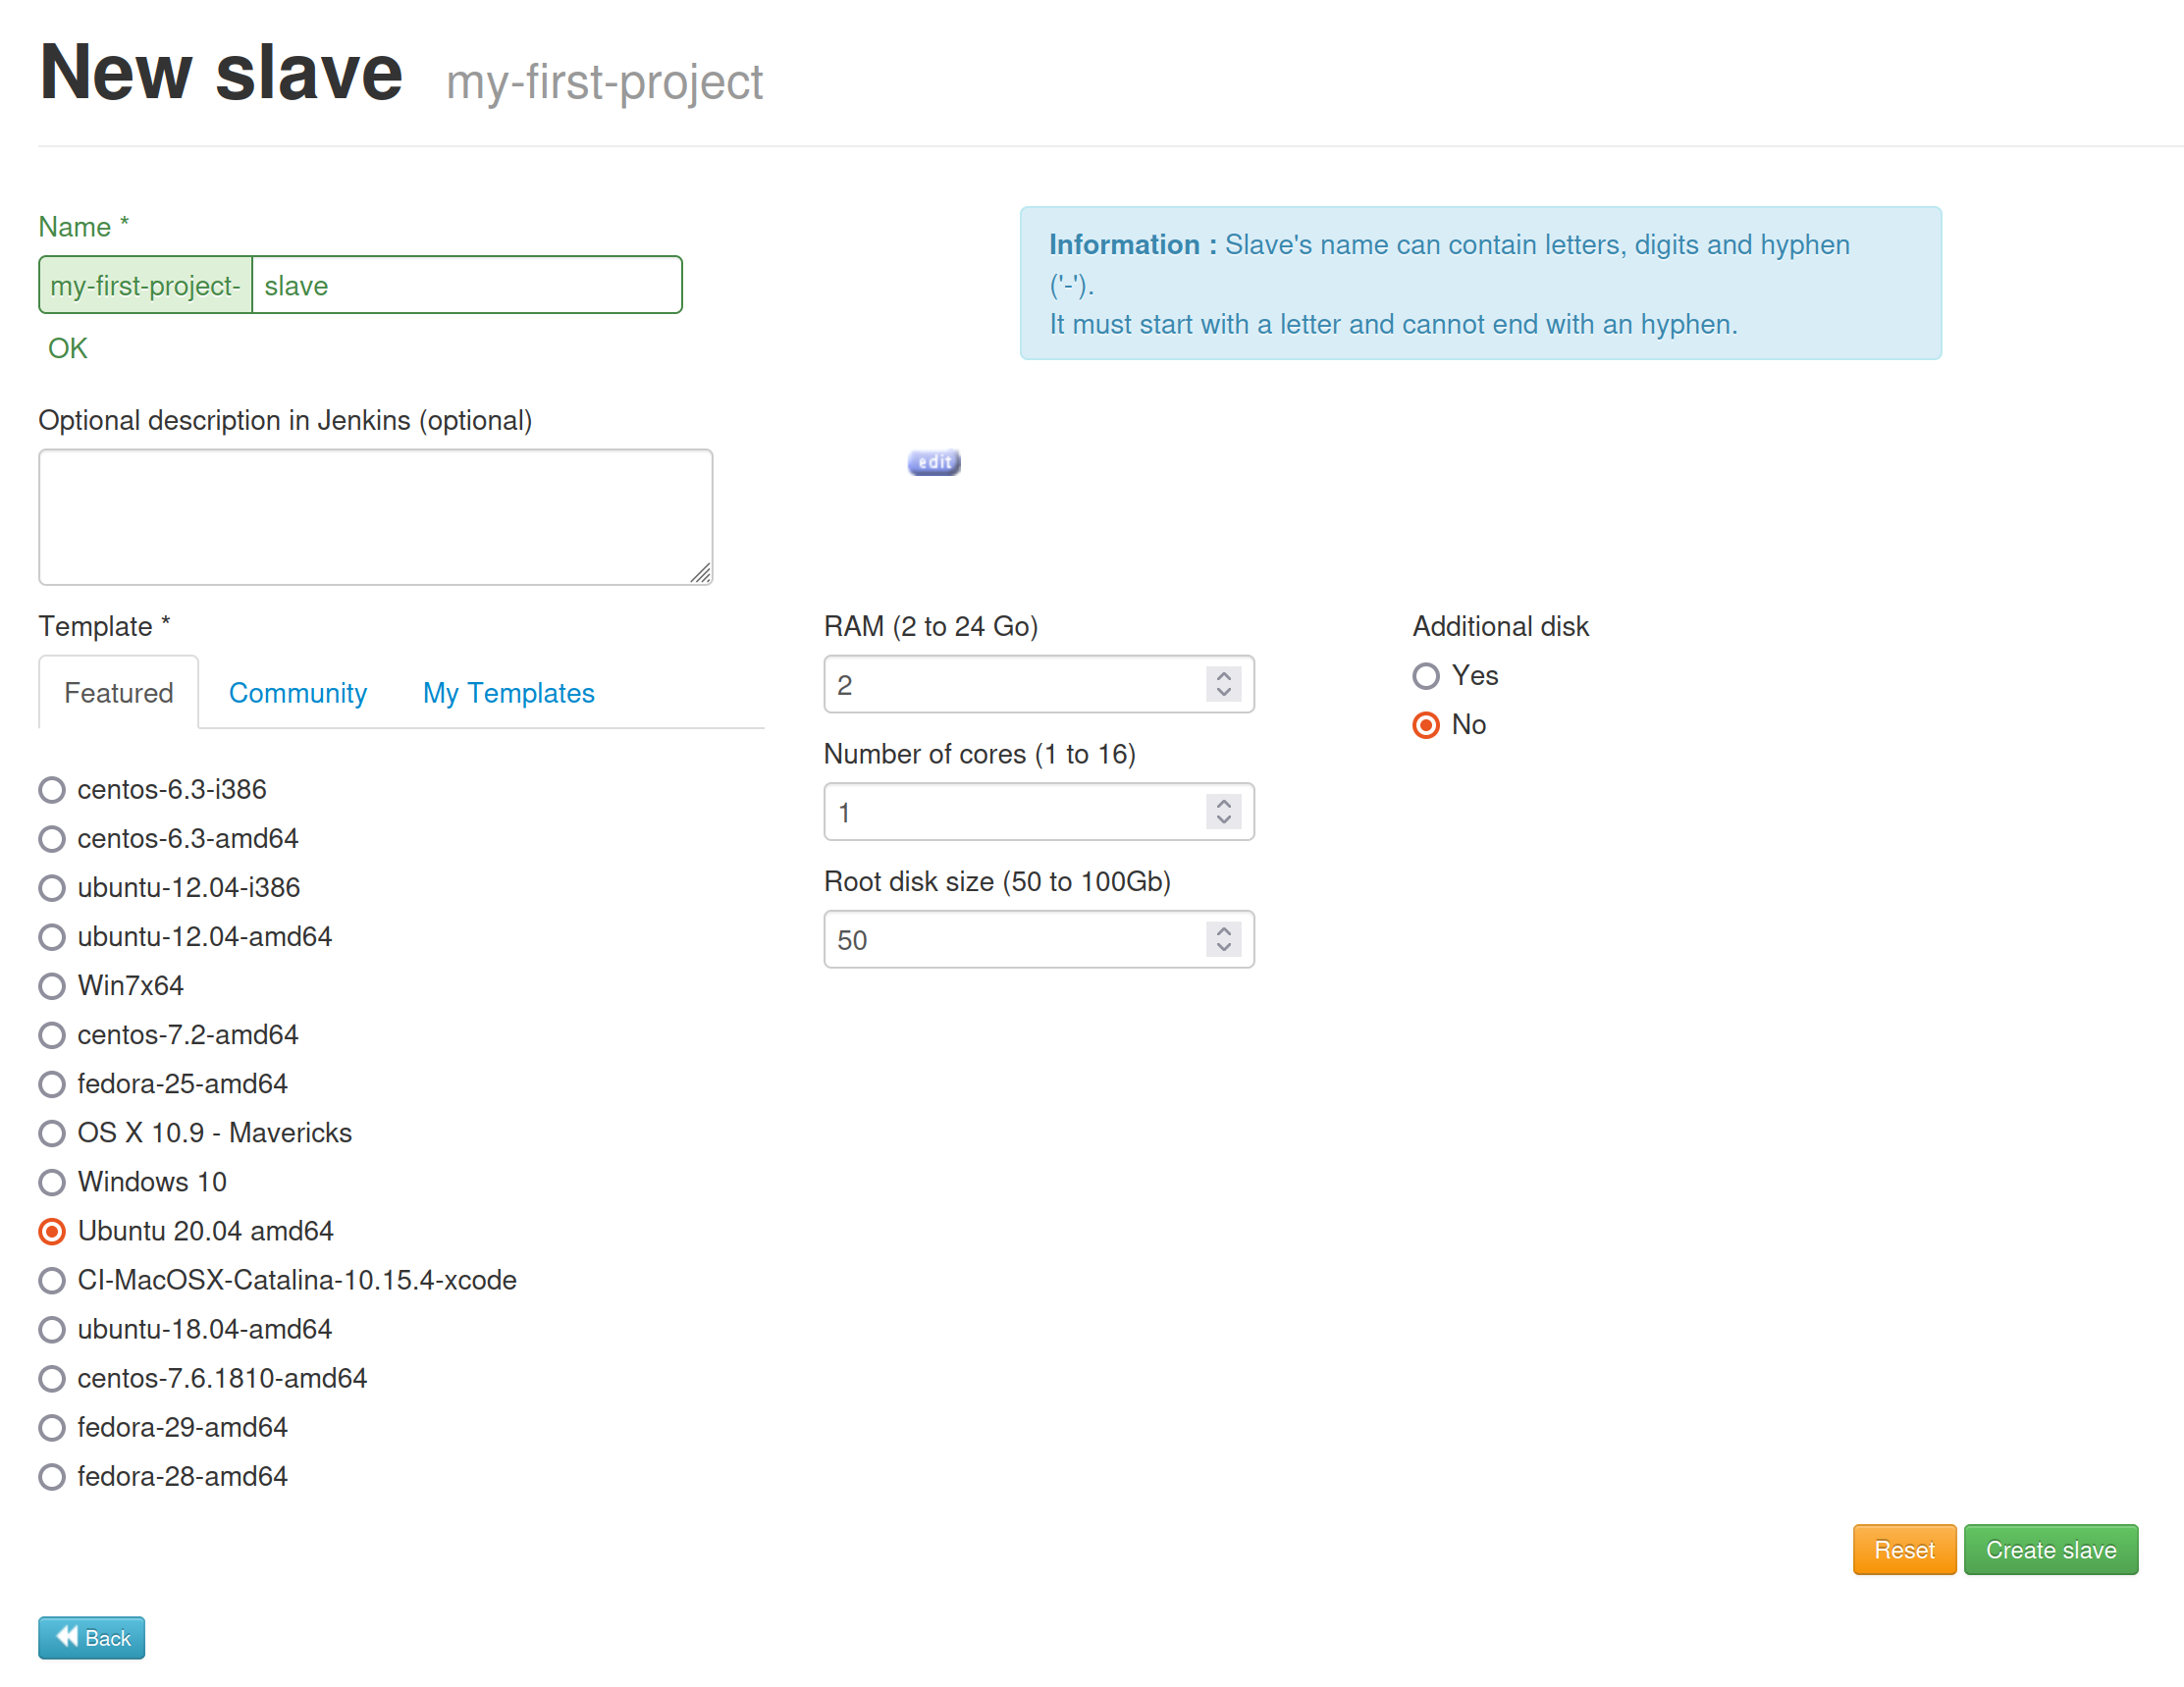
You can choose :
- an OS template from three sources:
- featured (recommended option): the templates supported by the infrastructure team
- community: the templates provided by other users
- my templates: your own templates (read the ../cloudstack tutorial if you want to create your own templates)
- the kind of instance required for your project, in terms of CPU, memory and root disk size.
- to add an additional disk.
Please prefer to choose featured template: They are preconfigured to be used as Jenkins slaves and are officially supported. If you wish to use another template, then you may have to handle extra configuration work when you will go through the Jenkins Tutorial.
Please refer to known problems of featured templates if you are facing issues.
You can act on the virtual machine with the buttons in the Actions column.
-
When a virtual machine is running, there are two available buttons, Connect and Stop.
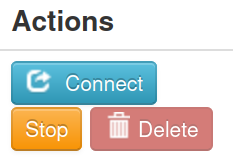
- The Connect button displays a popup with instructions to connect the virtual machine through SSH or VLC.
- The Stop button stops the virtual machine.
-
When a virtual machine is stopped, there are three available buttons, Connect, Start and Delete.
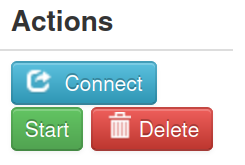
- The Connect button displays the same popup as with a running virtual machine, but it is worth noticing that these instructions would work only once the virtual machine will be restarted.
- The Start button restarts the virtual machine.
- The Delete button destroys the virtual machine. The destroyed virtual machine can still be recovered during 24 hours.
-
When a virtual machine was destroyed less than 24 hours ago, there are two available buttons, Connect and Recover.
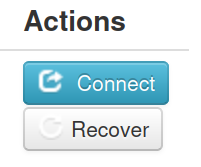
- The Connect button displays the same popup as with a running virtual machine, but it is worth noticing that these instructions would work only if the virtual machine is recovered.
- The Recover button restores the virtual machine. Virtual machine can only be recovered less than 24 hours after their destruction.
Members
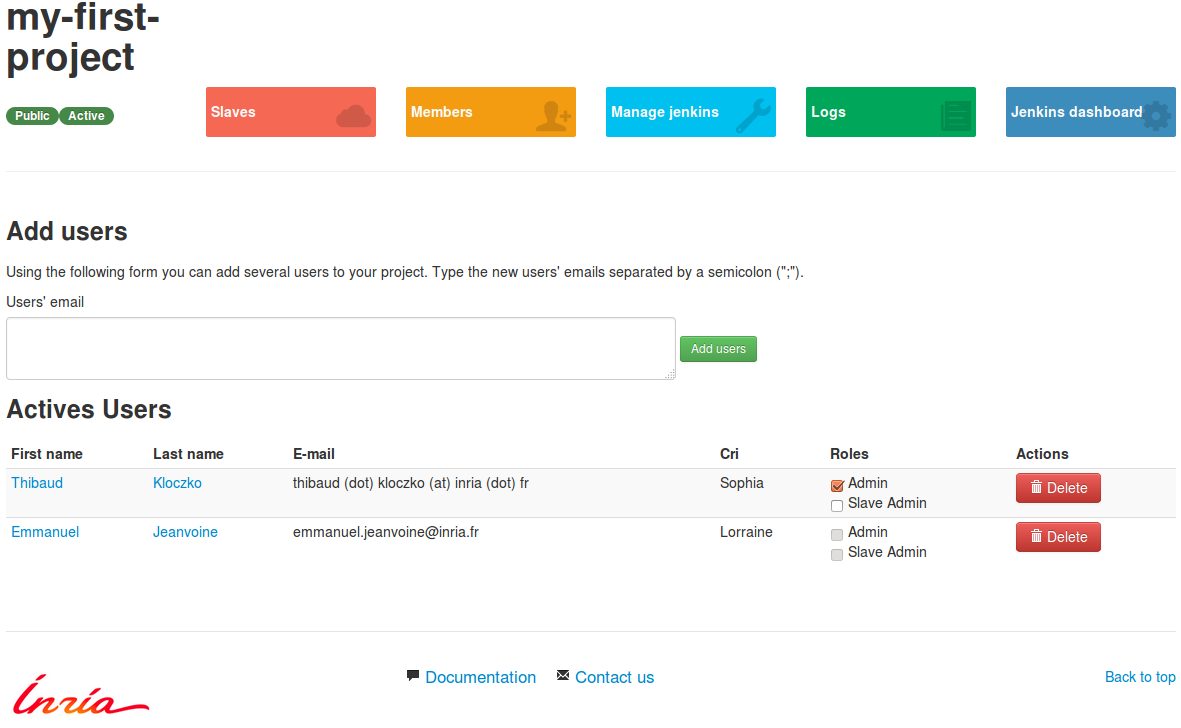
This section shows all the members of the project and gives the capability, for the administrators, to add/delete users and to modify their rights (project administrator and slave administrator).
Manage Jenkins
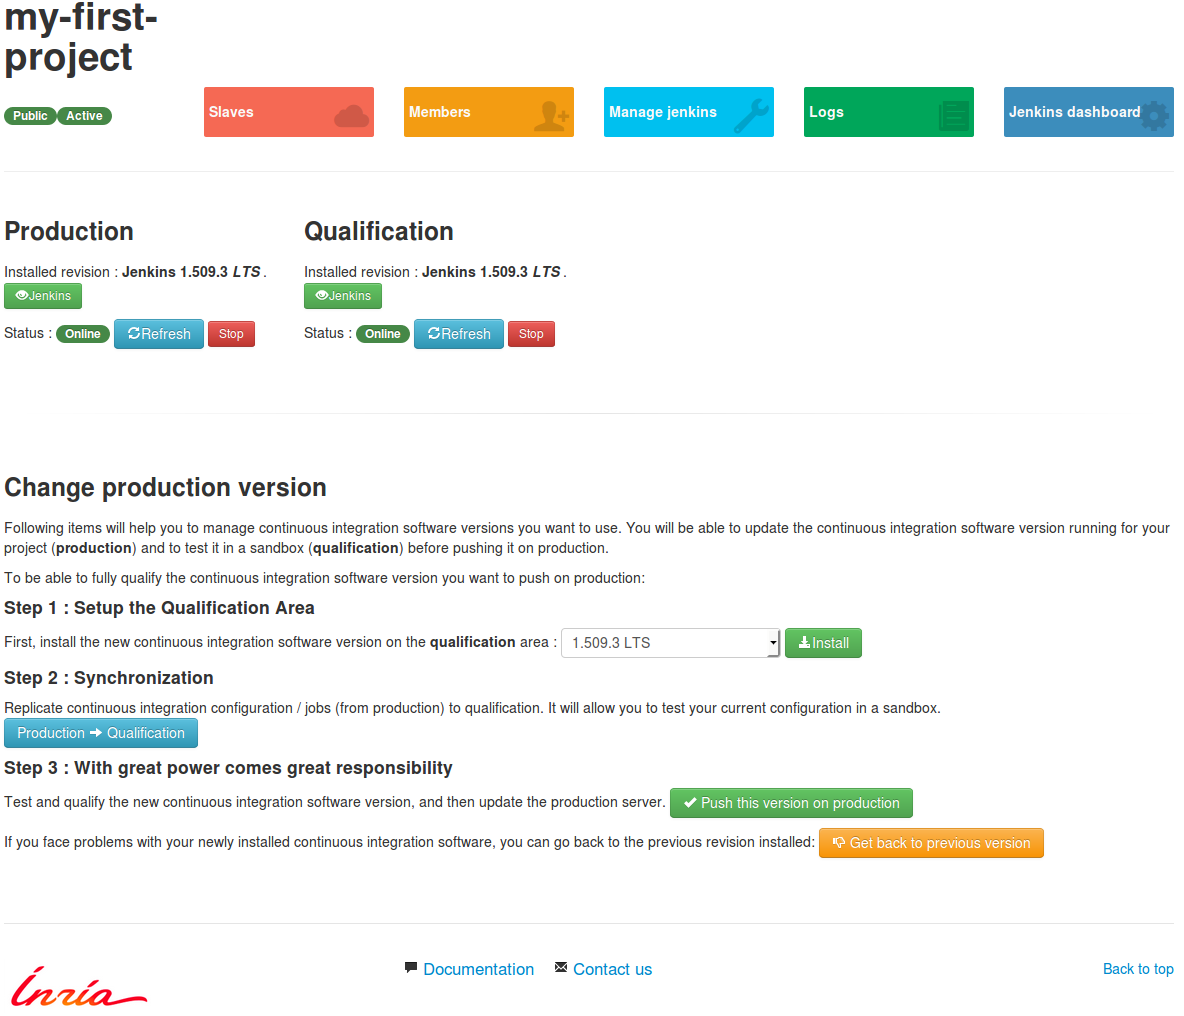
The Manage Jenkins section offers a powerful way to secures the changes you want to apply to your project Jenkins instance. Whether it is a change in the Jenkins configuration (how sources are polled, how tests are run, ...) or an upgraded of Jenkins version, or an upgrade of a Jenkins plug-in version, all theses changes can be dangerous and make your project Continuous integration crash. Instead of applying changes directly on the production Jenkins, one can test it on a qualification Jenkins. Once the qualification Jenkins is proved to be stable, one can decide to replace the production Jenkins with it.
Note: when upgrading your Jenkins instance, we recommend you to opt for a LTS release (Long-Term Support) rather than an ordinary release.
Logs
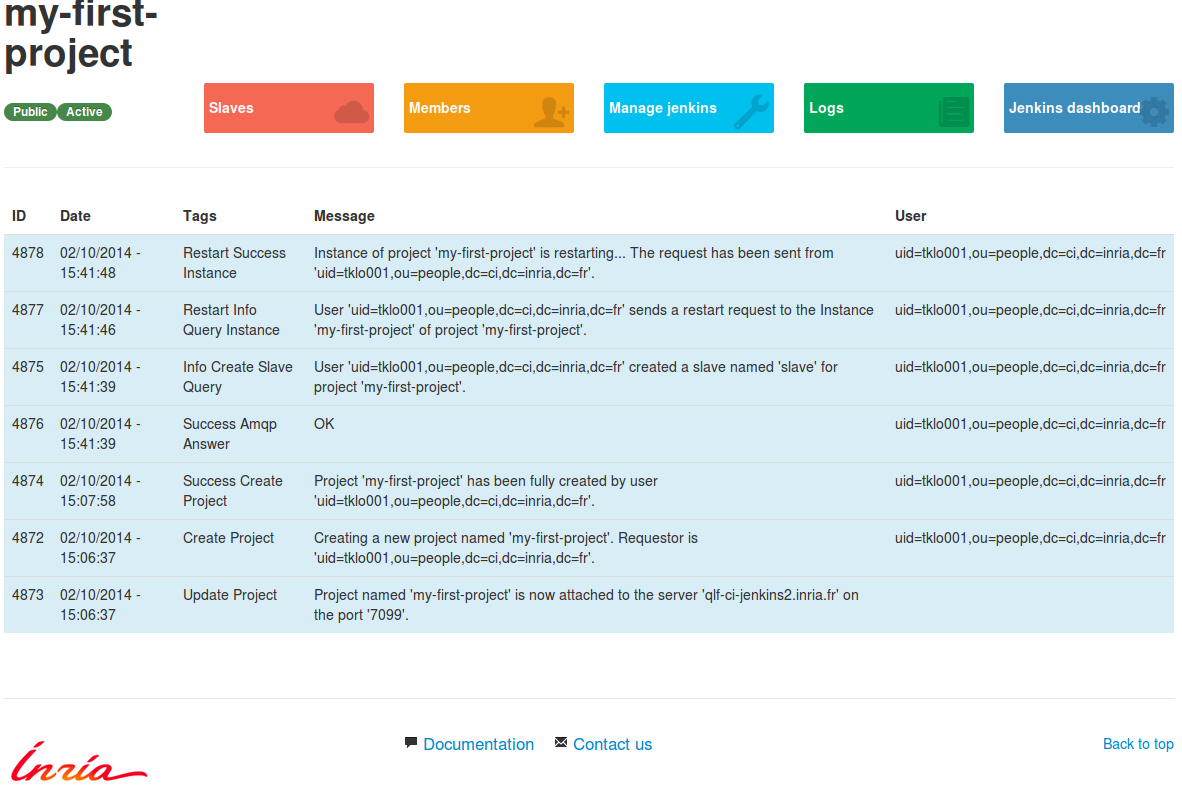
The Logs section lists the last events or actions that occured (slave creation, jenkins version update, ...).
Jenkins Dashboard
The Jenkins Dashboard section enables a direct access to the Jenkins interface where your project is handled.
Next Steps
You have now completed the first step of the tutorial!
The Web Portal addresses only the most common use case in managing your slaves (Create from a template, Start, Stop, Delete, Edit the description). If this is sufficent for you, then you should skip directly to Step 2, otherwise you may want to go through Step 1 bis first.
Step 1 bis (optional) Tuning your slaves
This part covers advanced scenarios for managing your slaves:
- creating a slave from scratch (using an ISO)
- creating a new template
- adding storage space to an existing slave
Step 2: Connecting to your slaves
This part will teach you how to open a remote session on your virtual machines. This will allow you to handle the administration tasks (change the passwords, install new packages, ...). Linux slaves are accessed via an SSH session and Windows slaves via a Remote Desktop session.
-
You should open a helpdesk ticket to activate the jenkins option. See post Jenkins deactivation for new projects ↩︎ ↩︎